
A walk-in shower without doors replaces the traditional glass barrier or curtain with a clean, open entry that makes any bathroom feel significantly larger. The design removes door hardware, tracks, and rubber seals, which are the components most prone to soap scum buildup and mold growth, cutting routine maintenance significantly.
The deeper advantage is visual flow. Without a door line breaking the sightline, the shower area reads as part of the broader room rather than a separate stall tucked into a corner. Natural light travels freely across the entire space. The floor plan feels cohesive and architecturally resolved.
The layout you select determines water containment, visual weight, and how the shower area interacts with the rest of the room. These six open shower configurations are the most commonly specified in high-end residential builds.
The Half Wall Entry uses a low wall, typically 36 to 48 inches tall, to define the shower zone without enclosing it. The top of the wall doubles as a ledge for toiletries on the shower side and a design feature on the room side. This is among the most requested doorless walk-in shower ideas for clients who want privacy without a glass door.
The Single Glass Panel places one fixed panel perpendicular to the showerhead wall. It intercepts the primary spray zone without creating a framed entry, preserving the open shower feel while offering practical splash control in tighter footprints.
The Wet Room waterproofs the entire bathroom floor and removes any defined boundary between the shower and the rest of the room. The curbless shower concept, meaning a floor that flows continuously without a raised threshold, reaches its fullest expression in this layout. The same tile runs across every surface, and drainage channels sit flush with the floor for a seamless look. This is the benchmark of spa-level residential design.
The Corner Open Shower uses two existing walls to contain water naturally and requires only a single panel or partial wall to close the third side. This curbless shower idea is highly effective in smaller bathrooms because it preserves usable floor space outside the shower zone.
The Walk-Through Shower allows entry on one side and exit on the other. It requires a minimum depth of 60 inches to keep water from reaching the open ends, but the result is a shower that reads as a destination within the room rather than a utility fixture.
The Niche Alcove Shower sits within a three-walled alcove, leaving one end fully open. The enclosed walls support dramatic floor-to-ceiling tile work and built-in storage niches without the visual competition of a door frame.
.jpg)
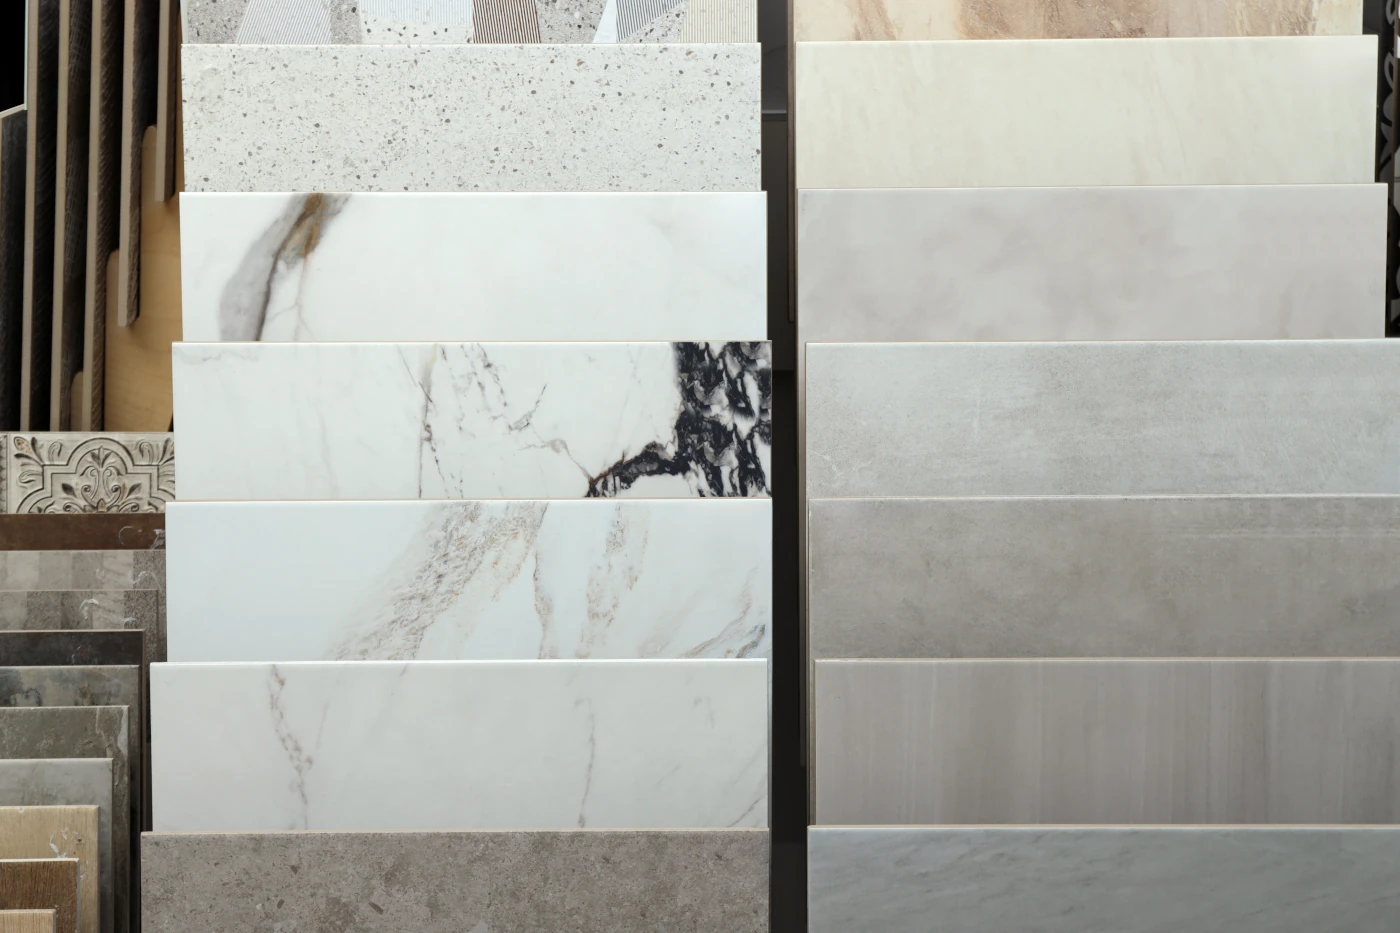
Tile in a doorless shower carries more visual responsibility than in an enclosed one because the surface is visible from every point in the room. Material choice determines texture, light reflection, maintenance demands, and the overall atmosphere of the space.
Large format porcelain, typically 24 by 48 inches or larger, minimizes grout lines and creates the monolithic, seamless look that defines contemporary curbless shower tile ideas. Marble introduces natural veining and warmth that no manufactured surface fully replicates. An all white bathroom using consistent white tile across the shower walls, floor, and main bathroom floor is one of the cleanest and most timeless approaches available at any budget level.
Water containment in an open shower is entirely a function of design precision, not luck. A doorless shower that allows water to escape onto the bathroom floor is typically the result of a geometry or installation error, not a flaw inherent to the concept itself.
Four engineering principles govern water control in every open shower configuration.
Showerhead placement is the first and most important variable. The showerhead should mount on the back wall or a side wall and direct spray toward the back corner, never toward the open entry. A ceiling-mounted rain head positions water flow directly downward over the center drain, making it the most contained option available and the preferred specification for shower footprints where the open entry is within 48 inches of the spray zone.
Floor slope must be engineered at a minimum of one quarter inch per foot toward the drain. In a doorless layout, this slope should continue a short distance beyond the shower boundary so that any incidental water is guided back into the wet zone rather than pooling at the transition to the main floor.
Drain type and placement determine how efficiently water exits the shower area. Linear drains, recessed flush with the tile at the perimeter of the shower zone, handle high water volumes, work seamlessly with large format tile, and reinforce the seamless look. Point drains function well in corner and alcove configurations where water concentrates naturally in one location.
Minimum dimensions provide the spatial buffer that makes containment possible. The dimensions of a doorless walk-in shower should start at 36 inches wide by 60 inches deep. Walk-through layouts require at least 60 inches of depth from the showerhead wall to the open end. Attempting a doorless configuration in a footprint smaller than these benchmarks without compensating design measures is the most common source of water management problems.
💡 Pro Tip: Specify a waterproofing membrane that extends at least 6 inches beyond the shower perimeter onto the adjacent floor. This buffer zone protects the substrate at the most vulnerable transition point and is standard practice on every high-performance bathroom build.
A compact bathroom does not rule out a doorless walk-in shower. With deliberate planning, the open design often delivers a more dramatic transformation in a small space than in a larger one.
The most effective strategy is continuous tile. Running the same material across the shower floor, shower walls, and main bathroom floor eliminates every visual seam, making the room feel like one cohesive space. A wall-mounted vanity and frameless mirror preserve reflected light and keep the layout open.
A corner layout works best in tight footprints. Two existing walls handle water containment naturally, and a single glass panel closes the third side. A ceiling-mounted rain head keeps wall hardware minimal and the shower area clean.
A built-in tiled bench adds seating and storage without consuming extra floor space, making doorless walk-in shower ideas with bench a practical choice for smaller rooms.
Getting these details right requires genuine expertise. A skilled bathroom remodeling contractor ensures your layout, waterproofing, and tile work are executed to the standard your space deserves.
.jpg)
The gap between a competent doorless shower and a genuinely excellent one comes down to execution at the detail level. These are the specifications that distinguish a custom build from a standard remodel.
Walk-in shower ideas without doors represent one of the highest-impact design decisions in any bathroom remodel. When planned with precision and built without compromise, the open shower delivers a spa-level experience, a universally accessible layout, and an architectural statement that holds its value for decades.
Whether you are reimagining a compact bathroom or commissioning a full master suite transformation in a mountain estate, the core principles remain the same: design deliberately, specify rigorously, and execute with the level of craft the project deserves. Walk-in shower ideas without doors reward exactly that standard of work.
Ready to bring your vision to life? Contact the Crafthaus Remodeling team for a design consultation tailored to your project scope and site conditions.
No. A doorless walk-in shower contains water effectively through showerhead placement, floor slope, and proper drainage design. The open entry is a deliberate architectural choice, not a compromise, when the layout is engineered correctly.
The recommended minimum is 36 inches wide by 60 inches deep. Walk-through configurations require at least 60 inches of depth from the showerhead wall to the open end to keep water contained.
Yes. Continuous tile across the shower and main bathroom floor, a corner layout, and a ceiling-mounted rain head make doorless walk-in shower ideas for small bathrooms highly effective. The open entry removes visual barriers that make compact rooms feel smaller.
Matte large format porcelain with a wet COF rating of at least 0.42, per ANSI standards, is the most practical and visually clean choice for curbless shower tile ideas. Natural stone and mosaic formats also work well when slip resistance requirements are confirmed.
Position a built-in tiled bench on the wall opposite the showerhead. A minimum shower width of 42 inches keeps the standing area comfortable alongside the bench. Slope the bench surface slightly toward the drain and tile it to match the surrounding walls.
Cost depends on size, materials, and project complexity. A custom open shower in a luxury remodel represents a significant portion of the total bathroom budget. Stone tile, radiant heat, thermostatic controls, and a linear drain system place a project at the upper end of the range.
.avif)
Find the right services for your home project.


.svg)

.png)


.svg)
